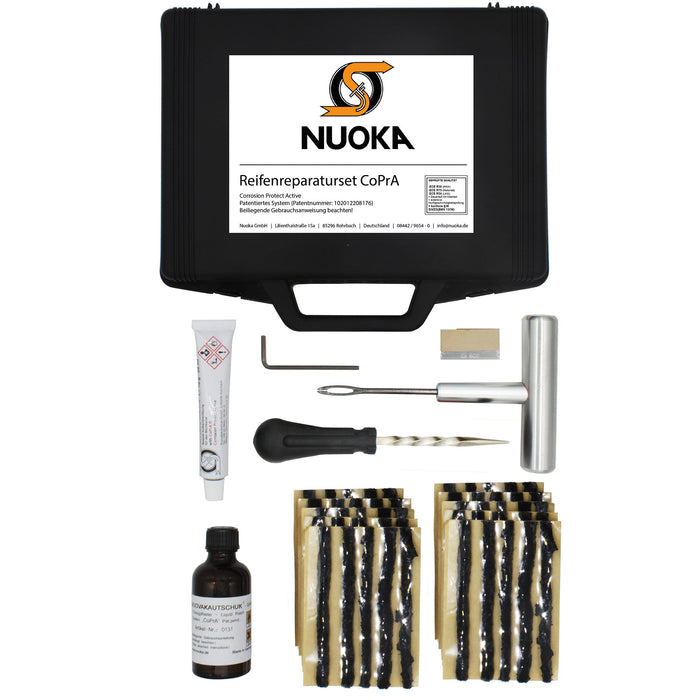
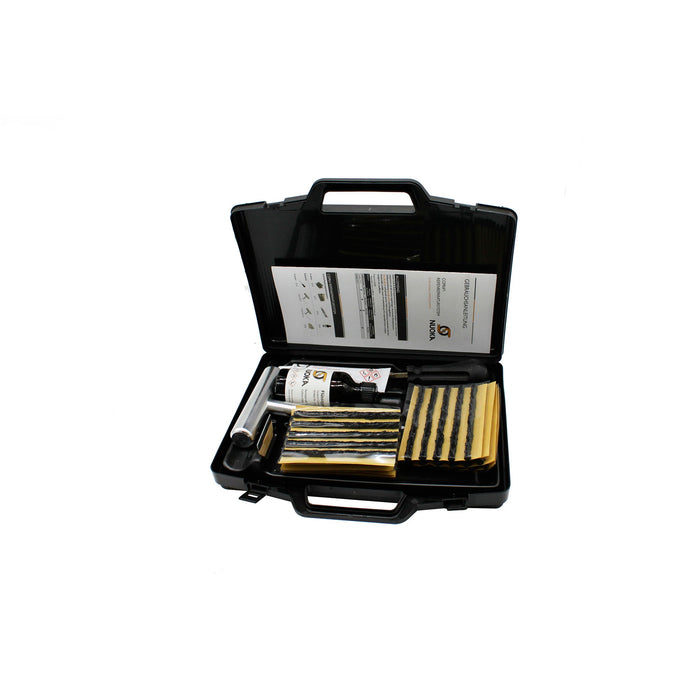
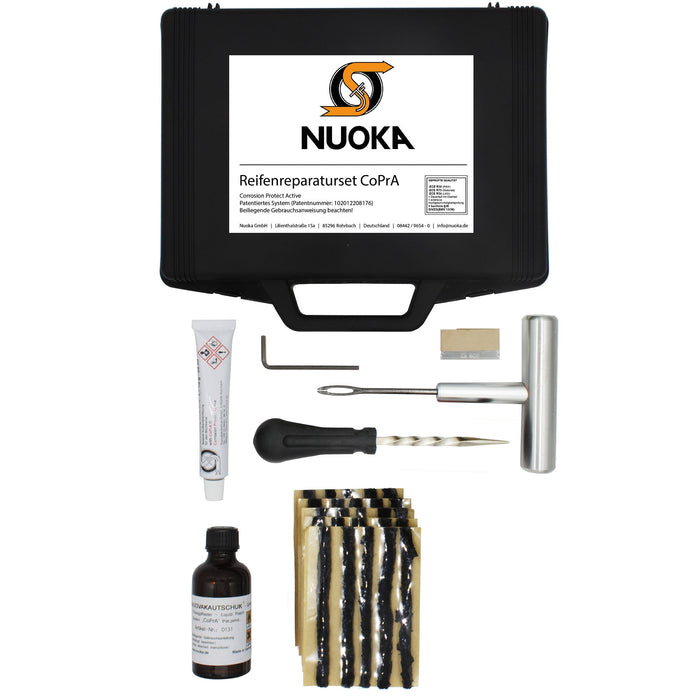
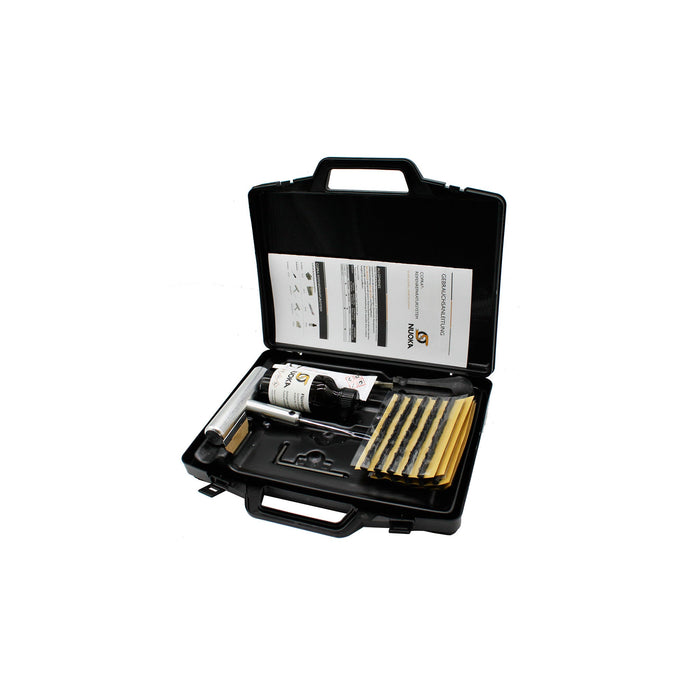
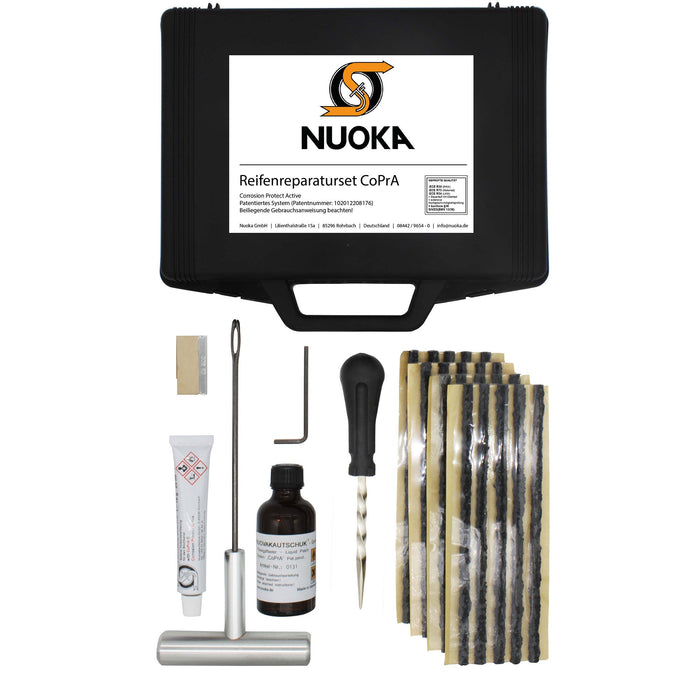
Our CoPrA tire repair system is StVZO compliant and must always be used together with all of our associated chemical components (vulcanizing solution item no. 0116 and liquid plaster item no. 0131 ) and in accordance with our instructions for use. Otherwise the product liability does not apply .
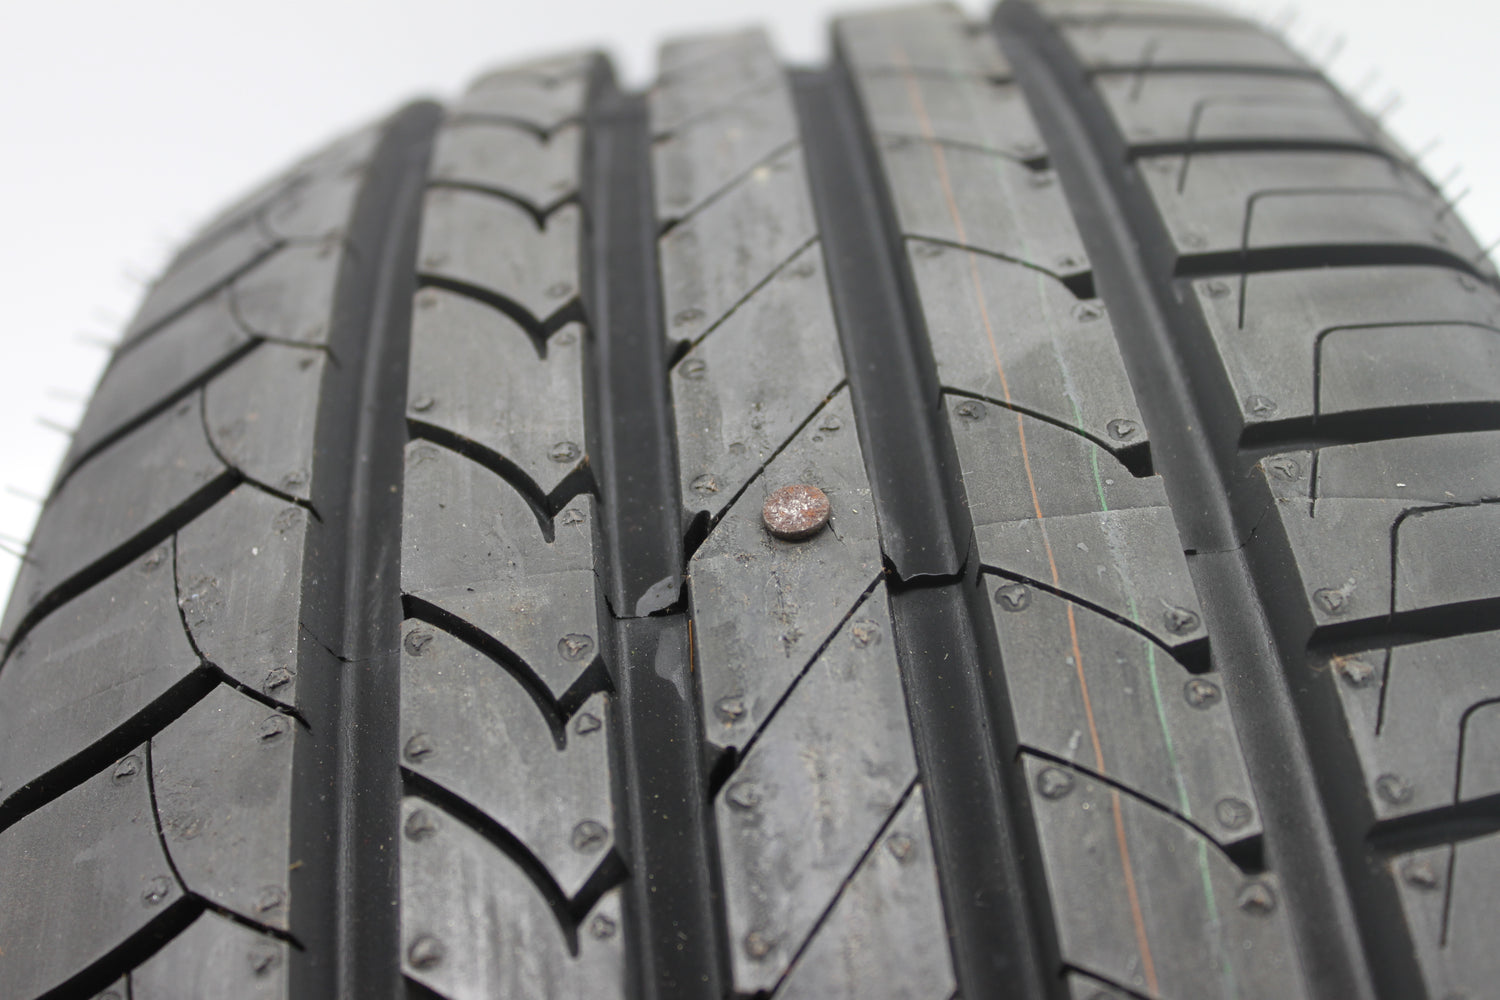
Check repairability
First remove the tire and check the extent of the damage and whether it can be repaired according to the following criteria according to §36 StVZO (BMV/StVZO 13/36):
1. The tire must not be less than 9 years
2. The maximum puncture angle must not exceed 40°.
3. Up to TR-PKW, only a maximum of 3 repairs per tire may be carried out at a distance of at least 30° from each other.
4. Up to HR passenger cars, a maximum of 2 repairs per tire may be carried out at a distance of at least 30° from each other.
5. In the case of motorcycle tires, a maximum of 1 repair per tire may be carried out.
6. Always pre-drill light truck, truck, AS, EM tires etc. with a 5mm drill bit.
1. Locate the puncture and puncture site inside and outside
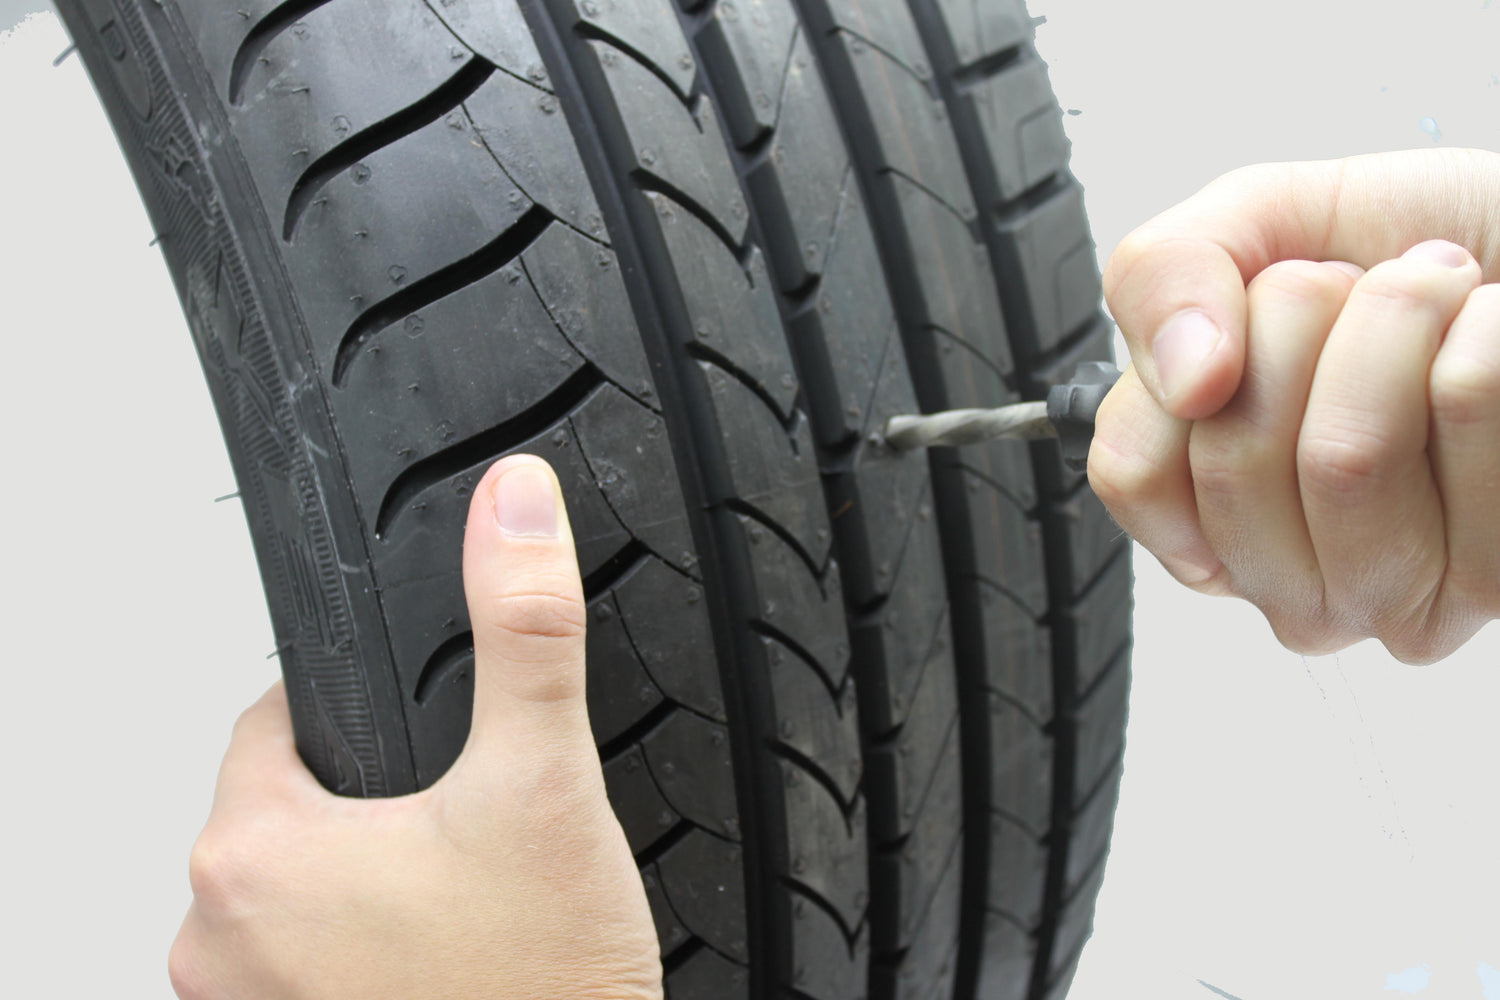
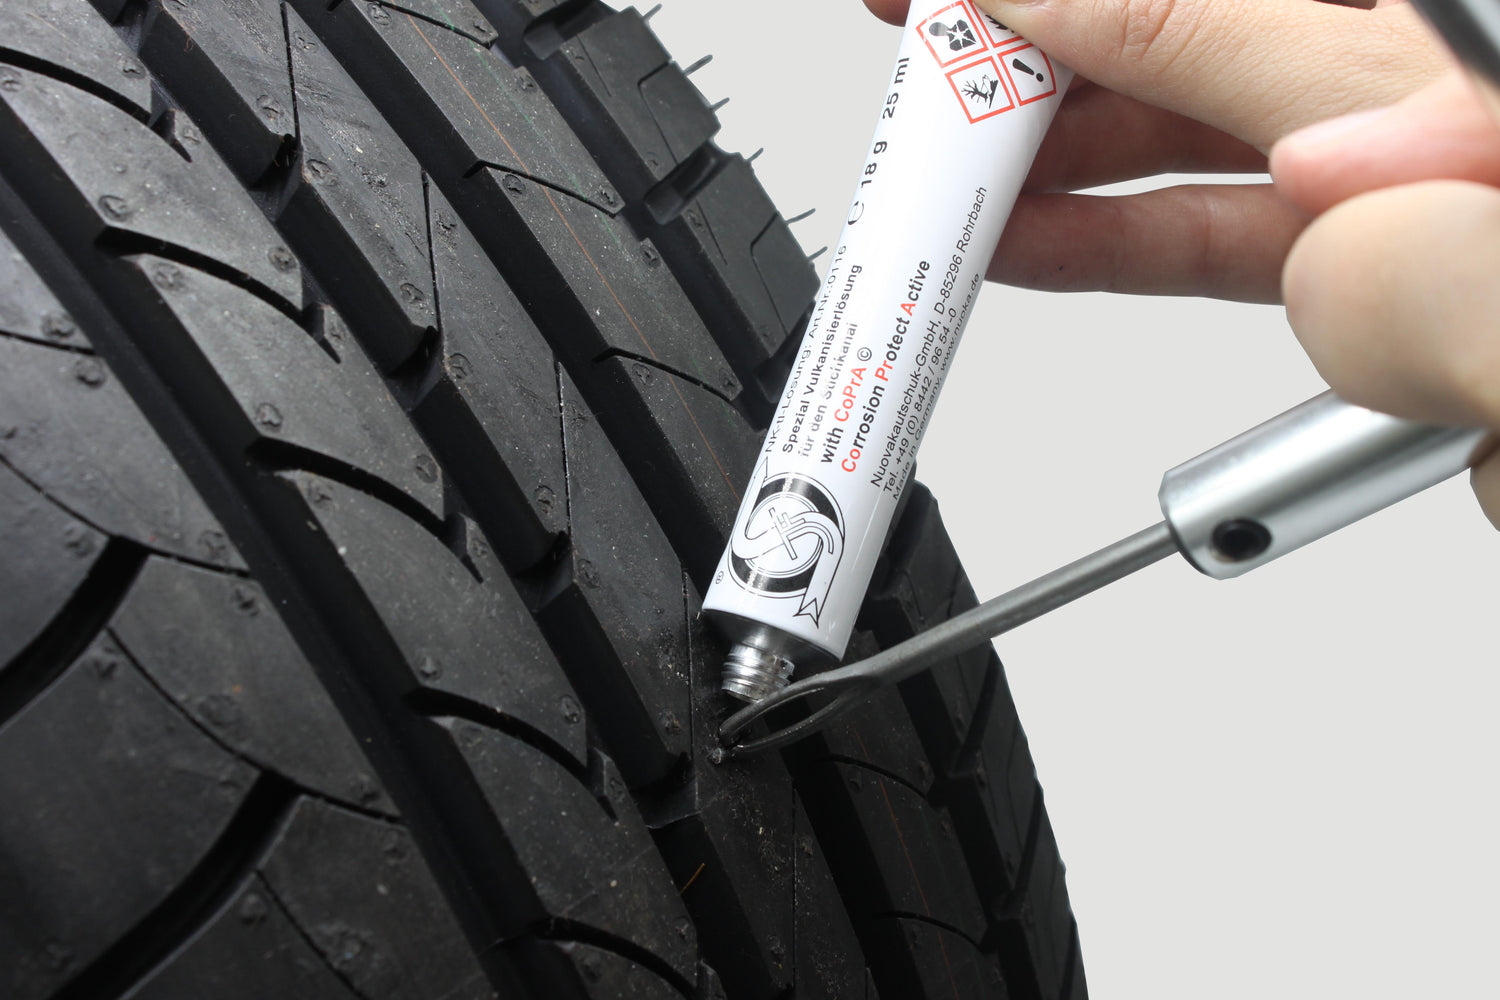
Locate the puncture and puncture site. Only then, if necessary, remove the object that caused the hole. Clean the puncture with a pricker (item no. 0119 ).
Danger! Don't poke another hole!
Completely remove rust or moisture.
Pre-drill tires with LI ≥122 (LLKW, LKW, AS, EM etc.) with a 5 mm drill bit.
2. Roughen inner surface
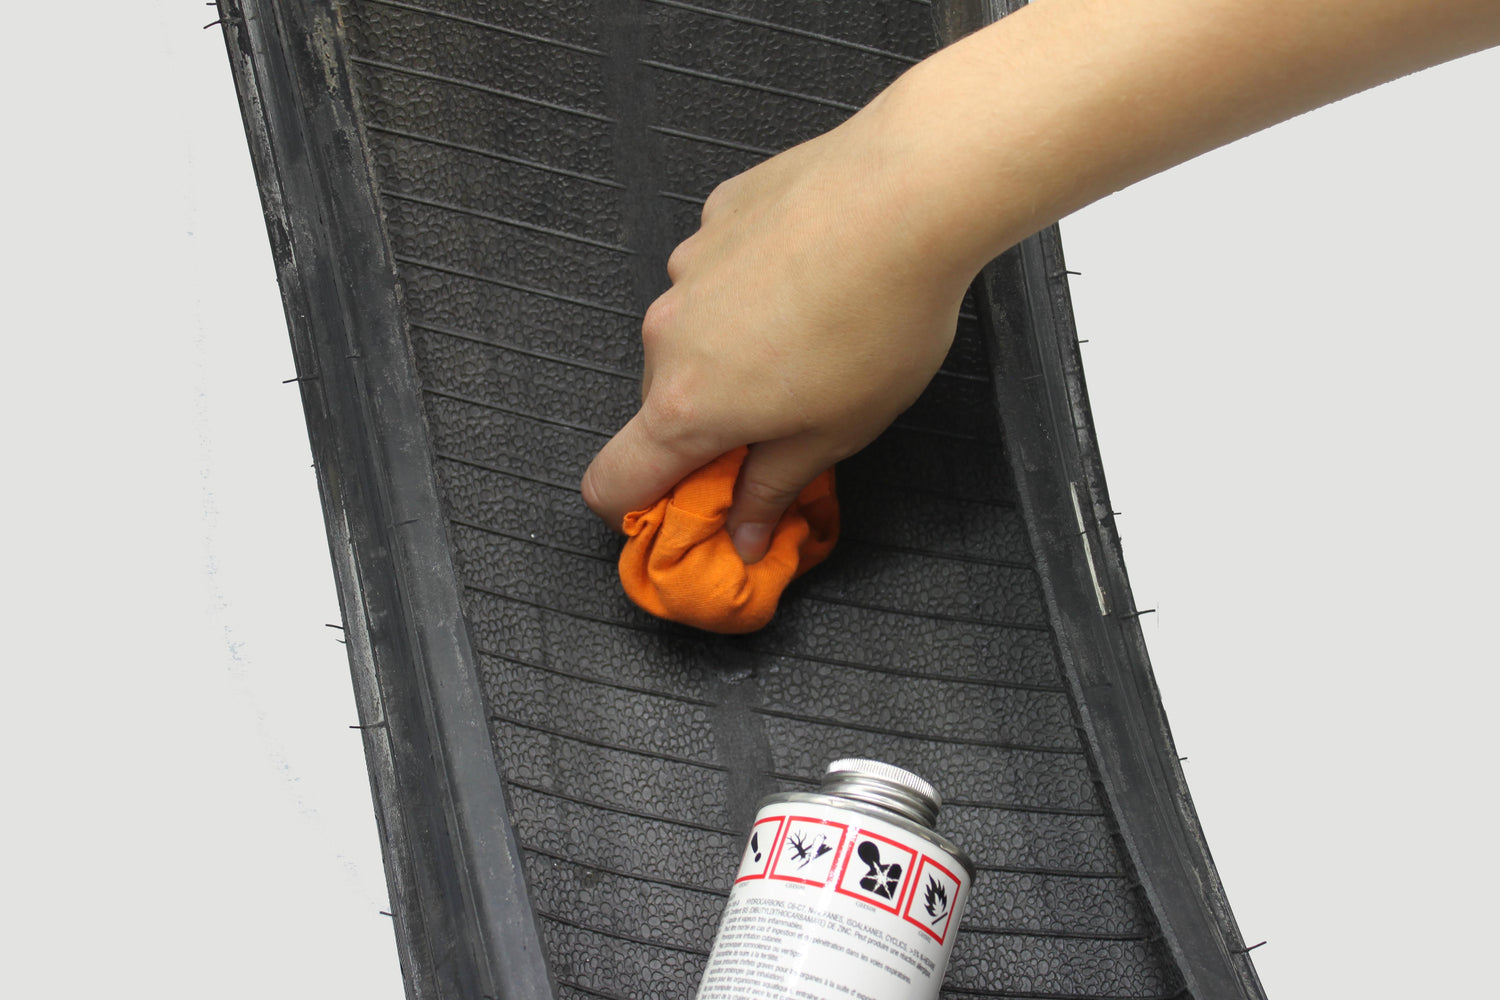
Roughen the inner surface (Ø 2.5cm) around the damage with liquid roughener (oil-free). A brake cleaner can be used for this, for example.
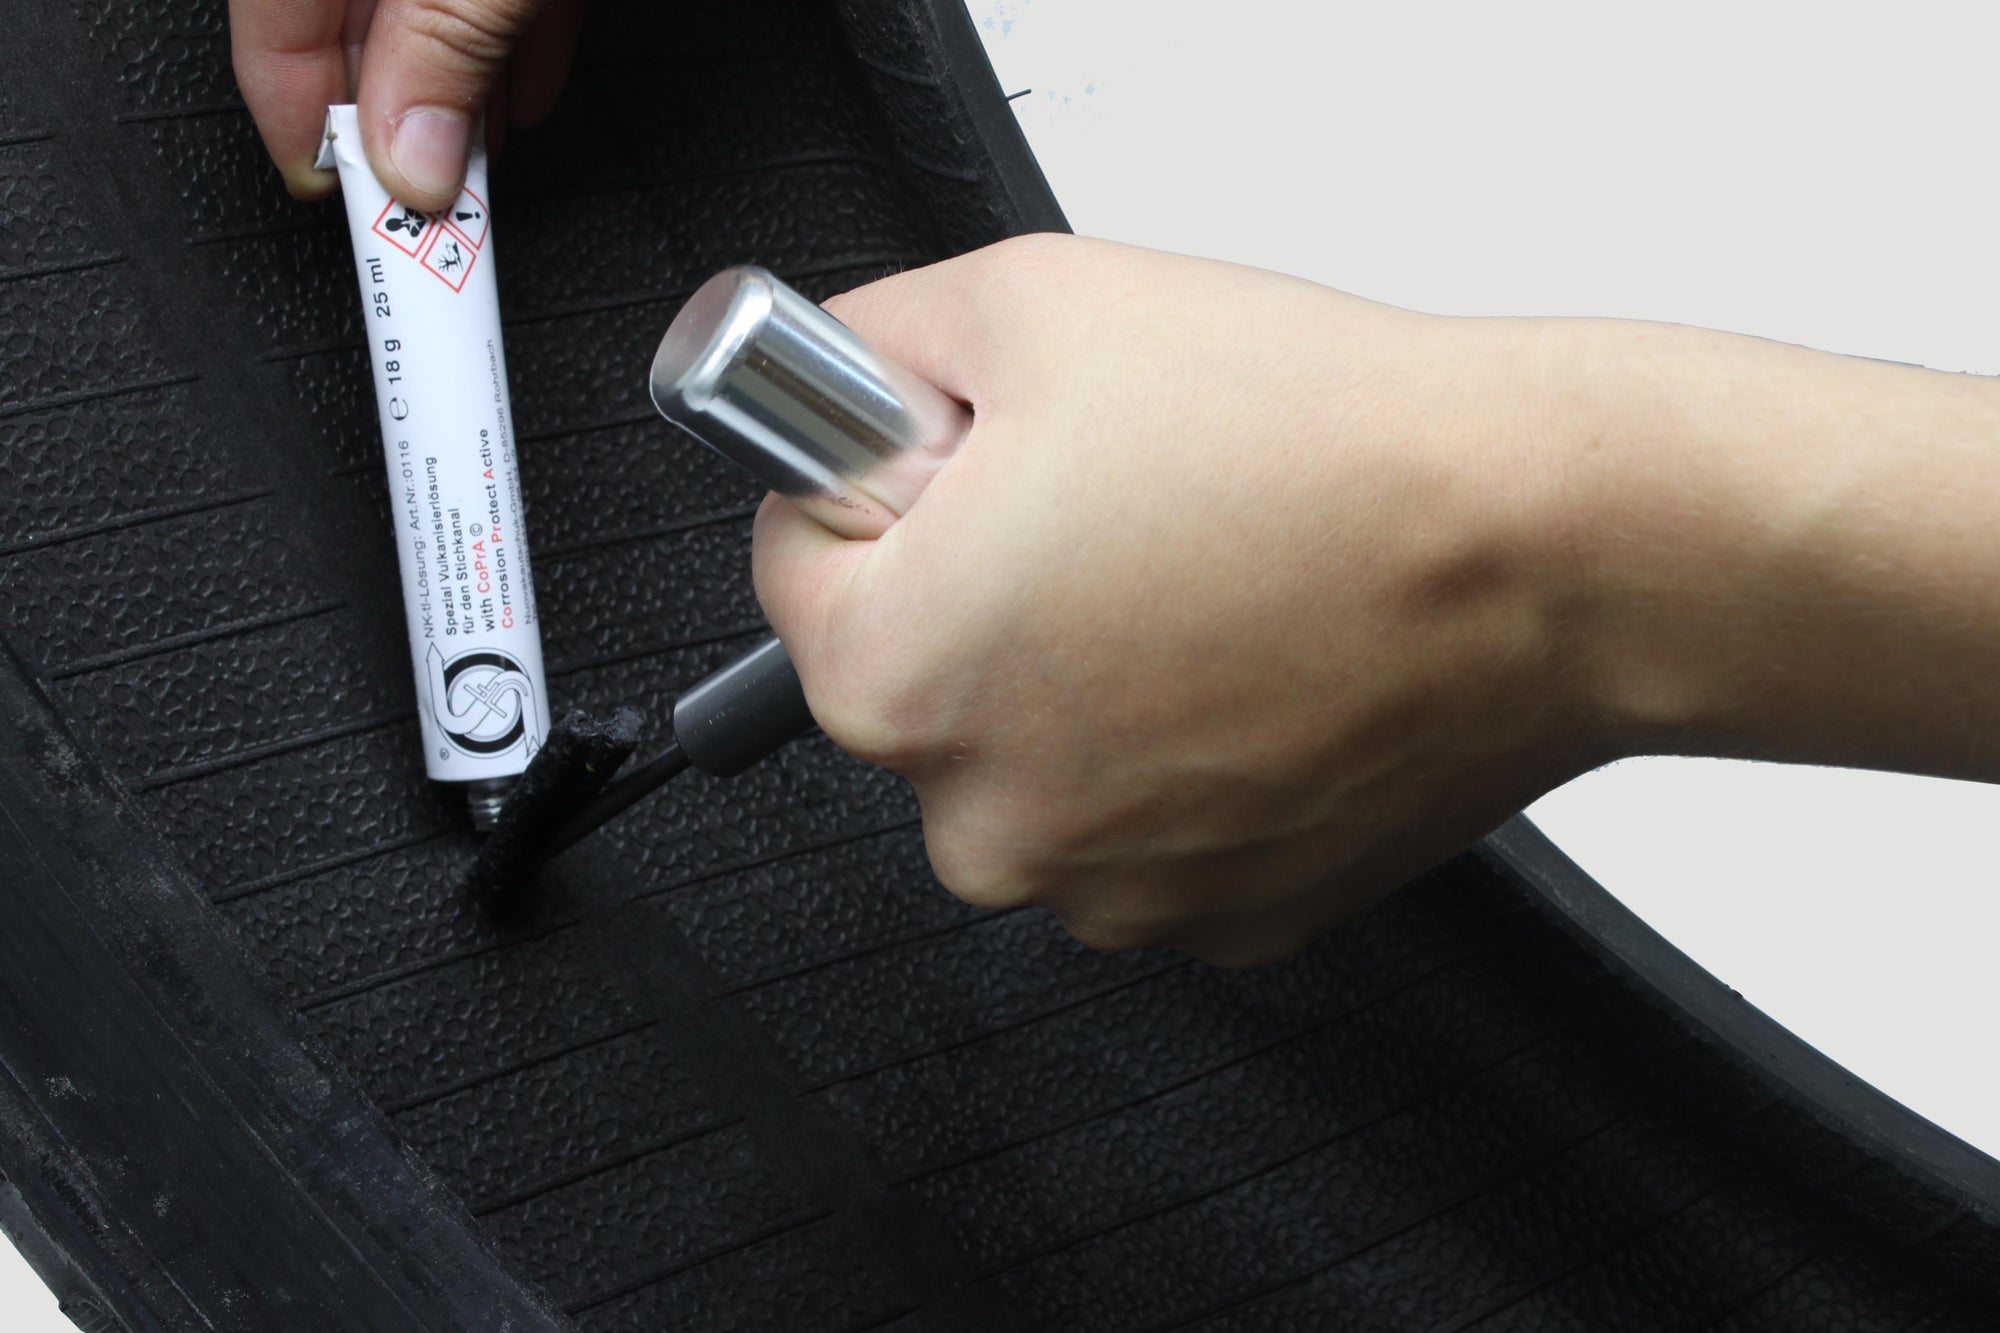
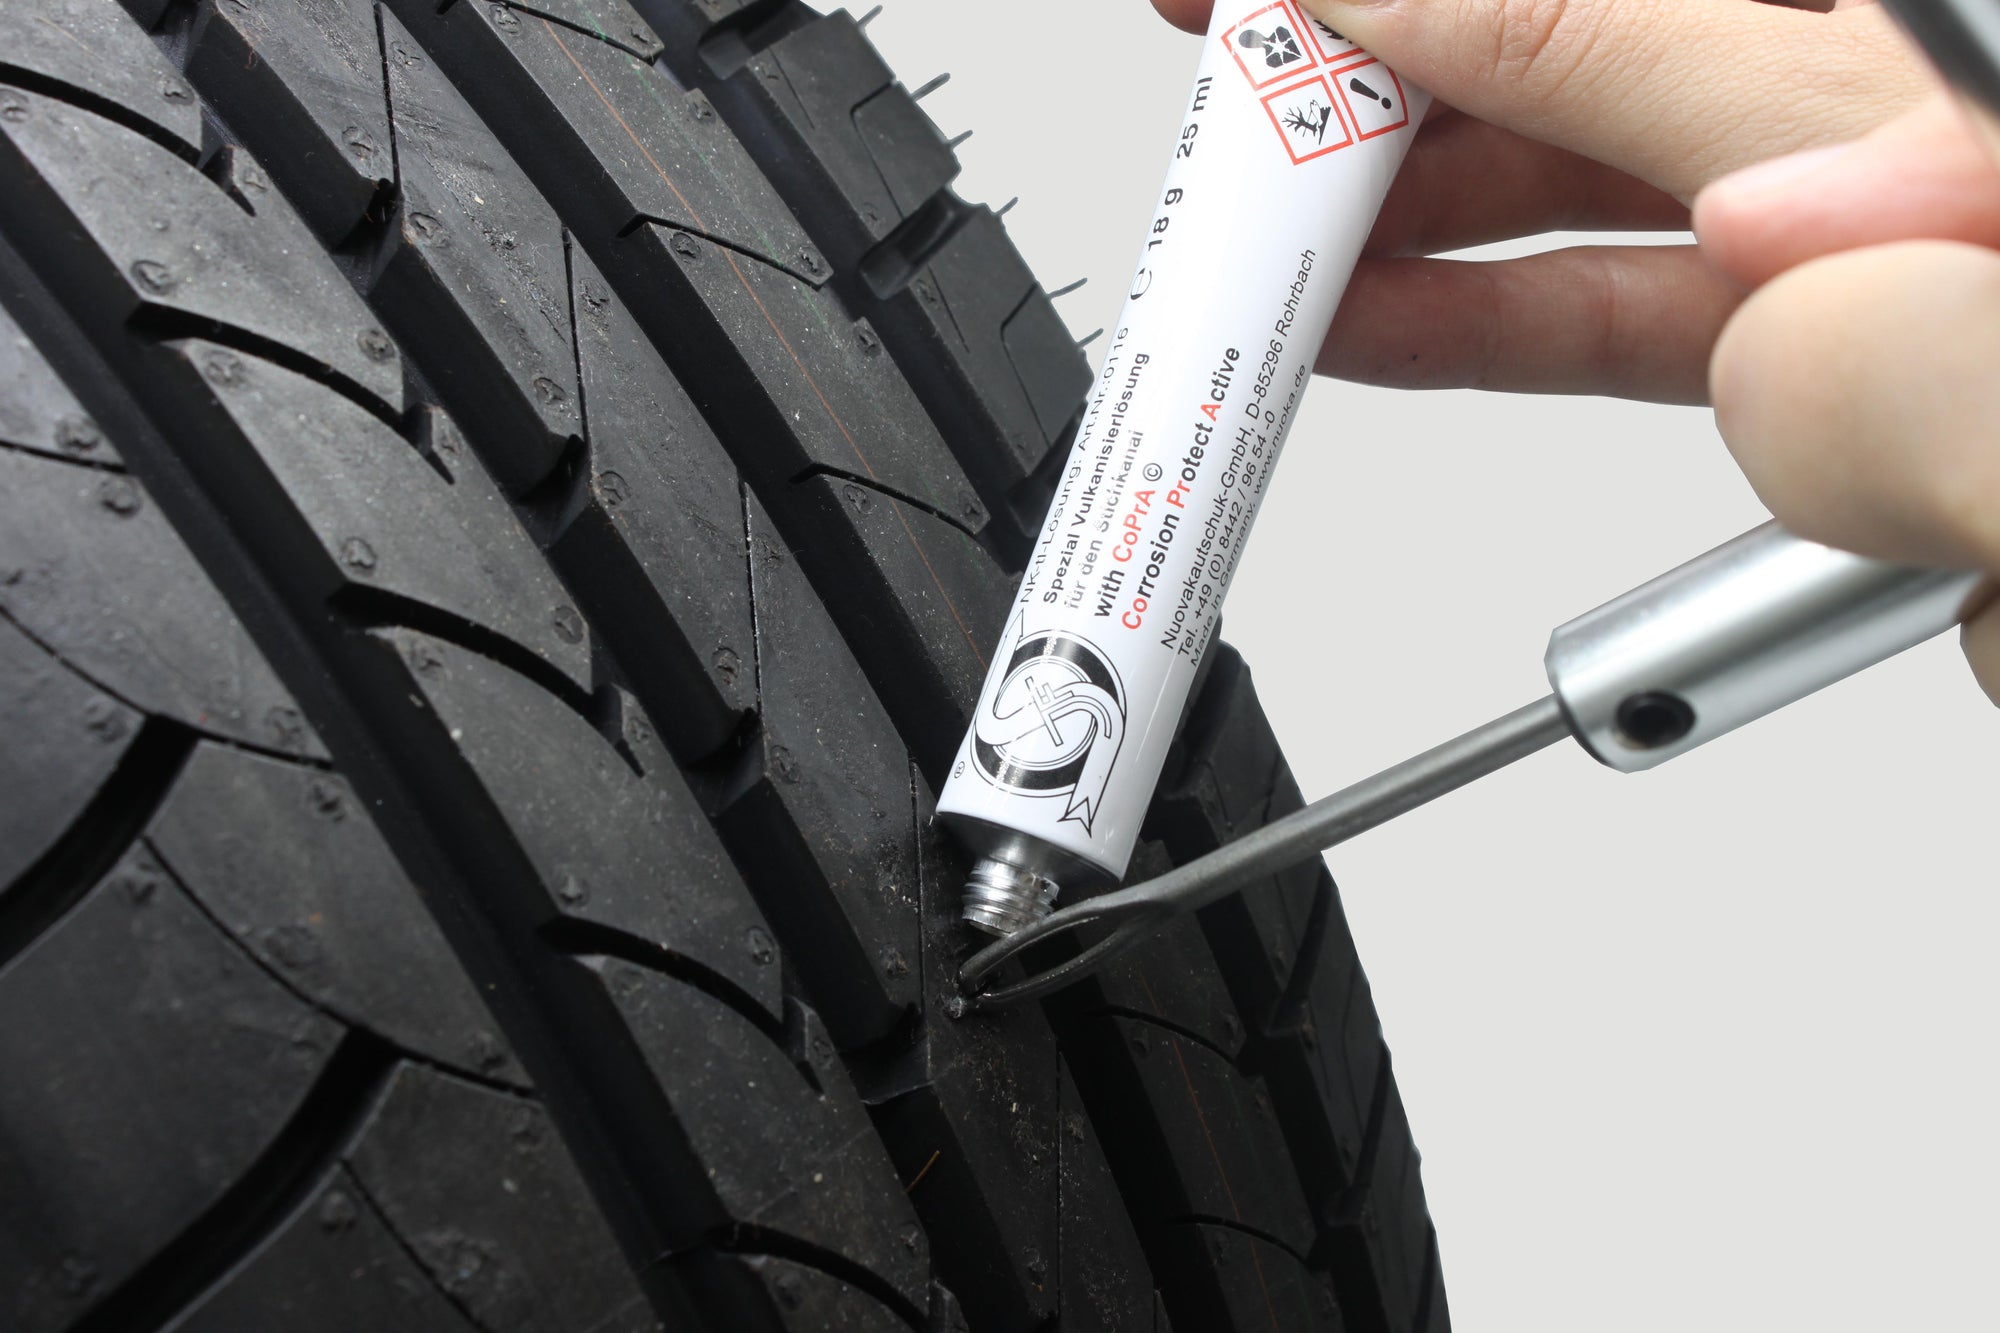
3. Wet the lock channel with tl solution "CoPrA" (item no. 0116).
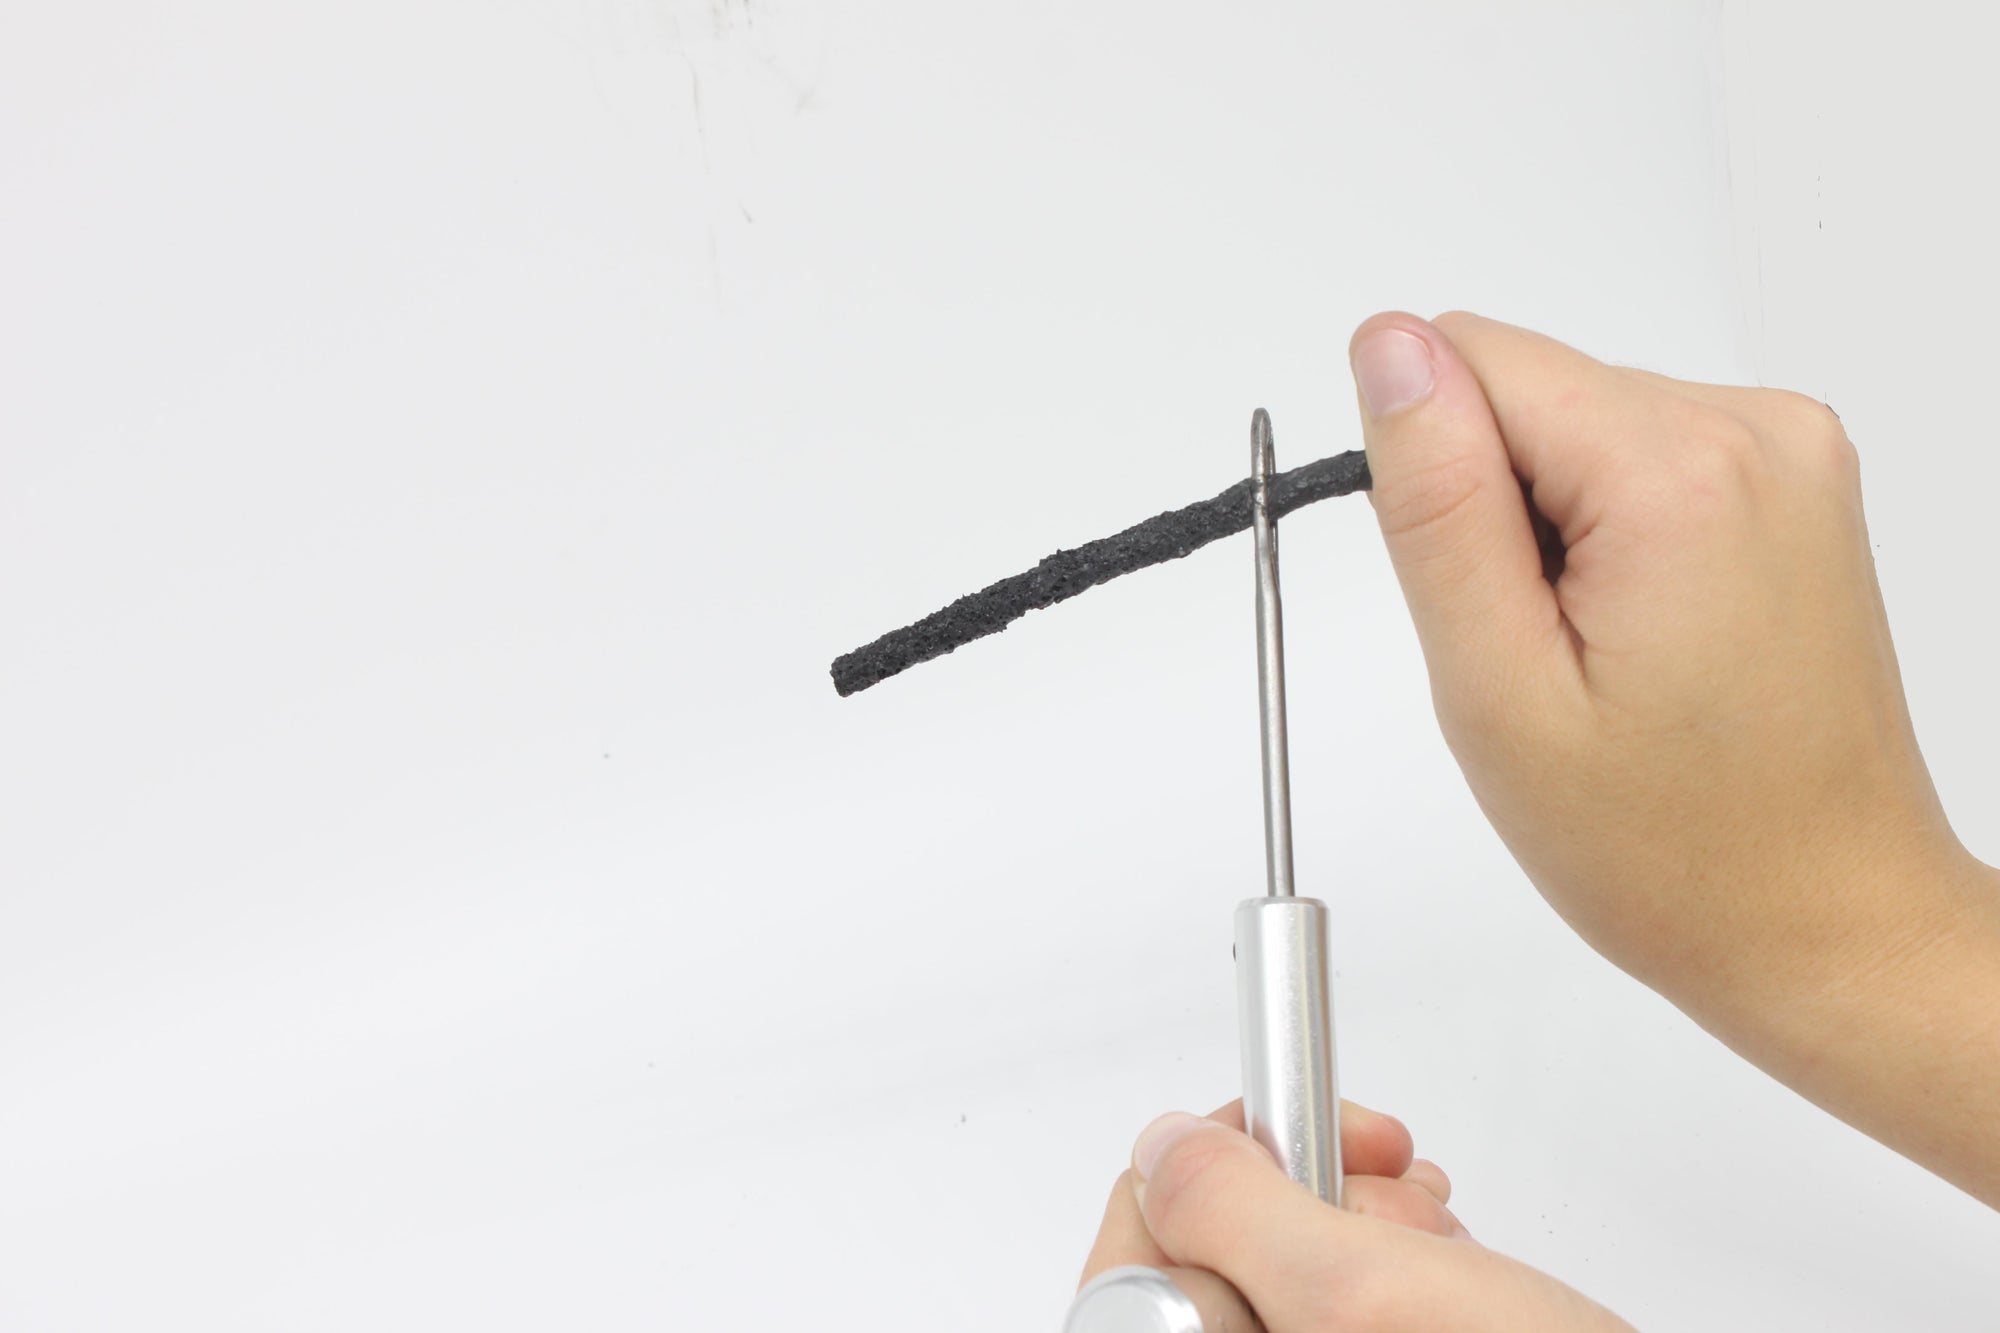
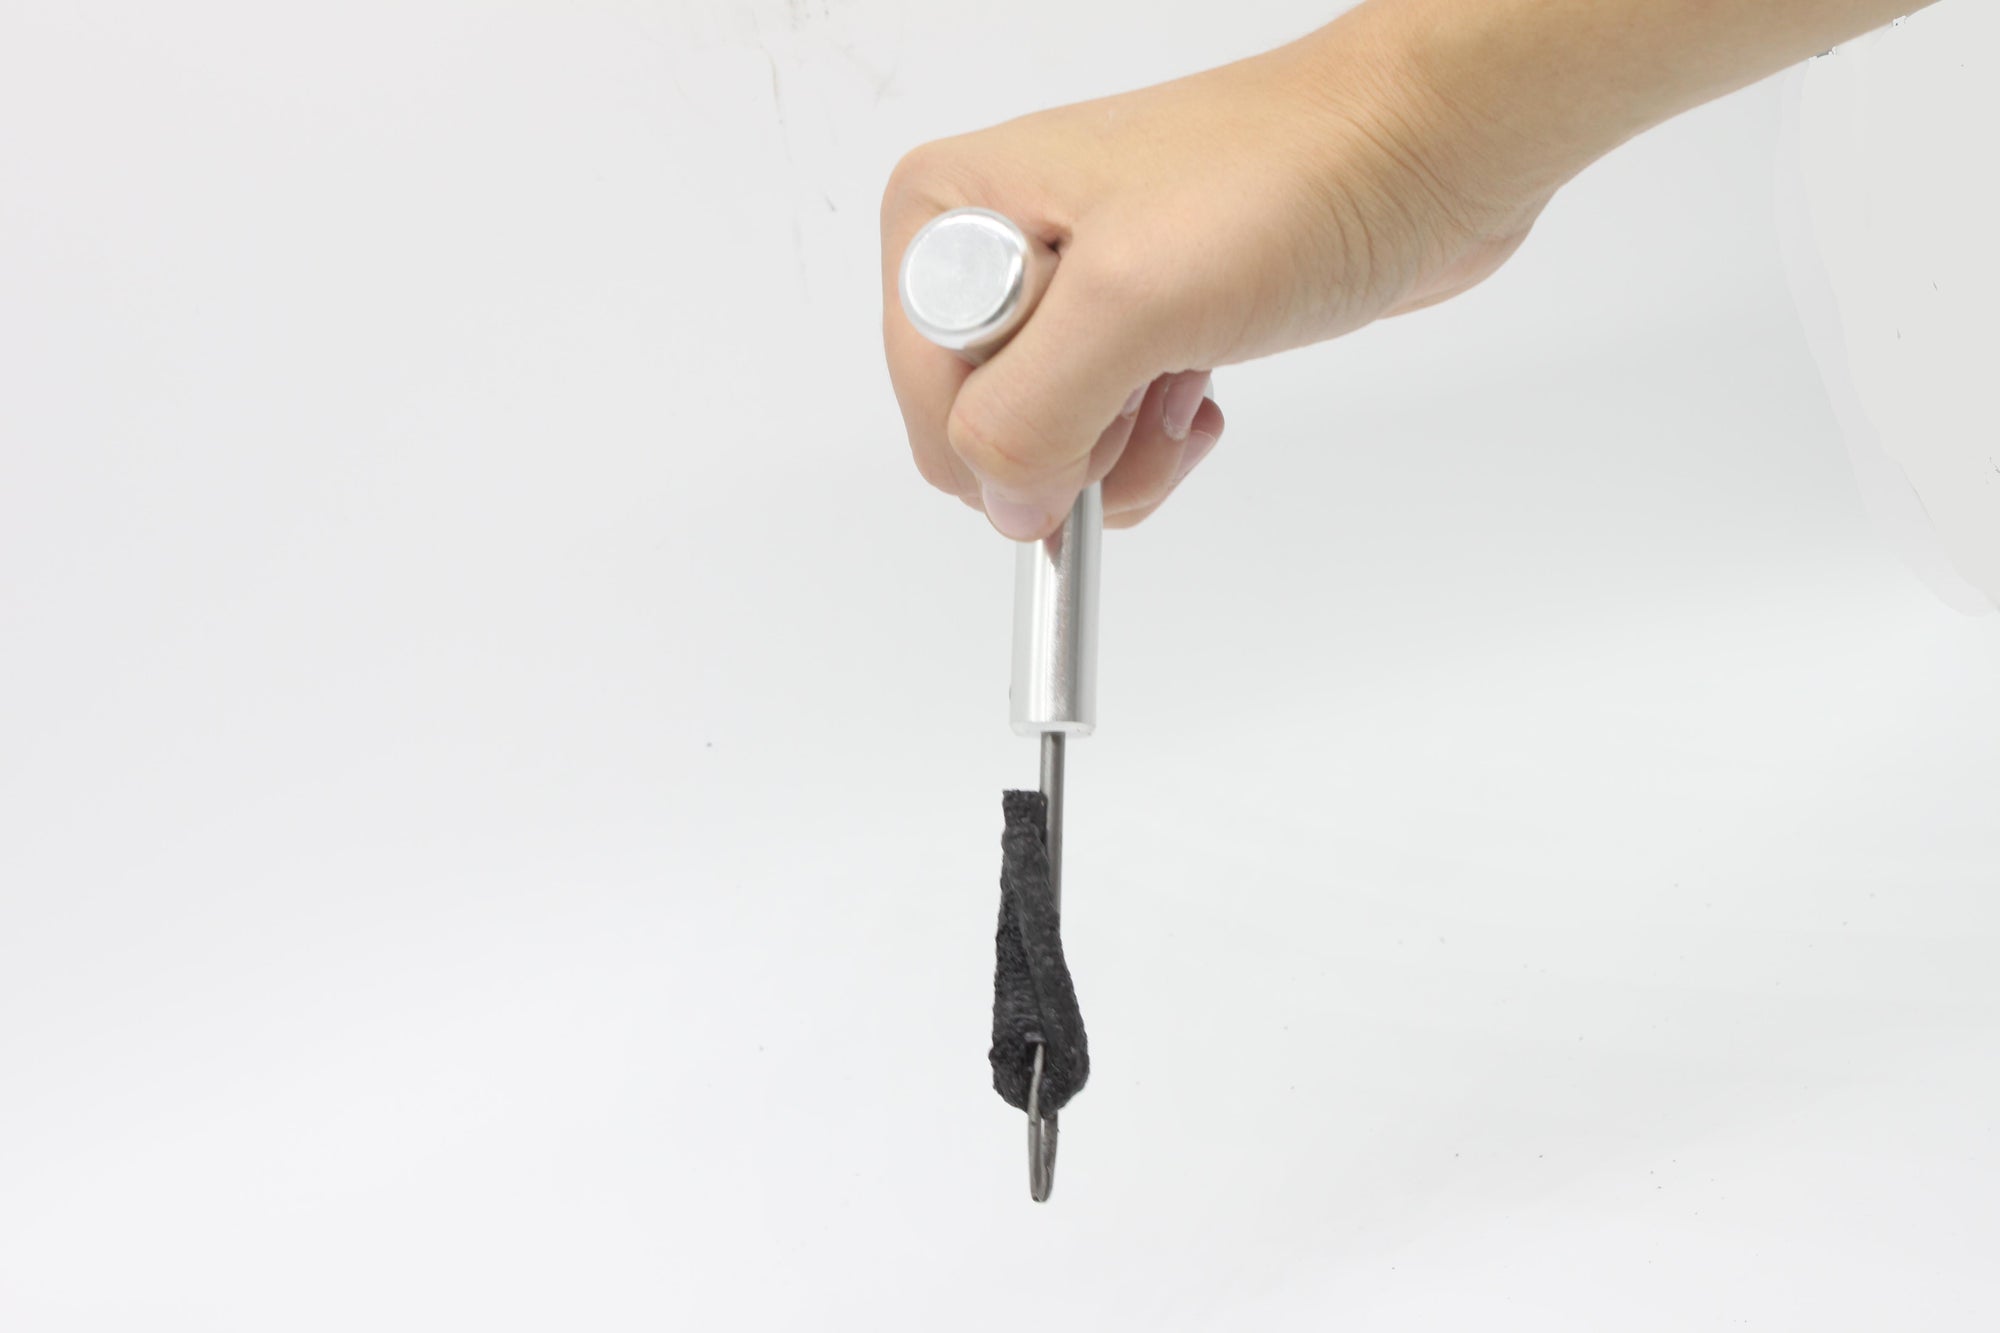
5. Wet the tip of the insertion awl with vulcanizing solution (item no. 0116).
Dip the tip of the insertion awl in some vulcanizing solution to lubricate it.
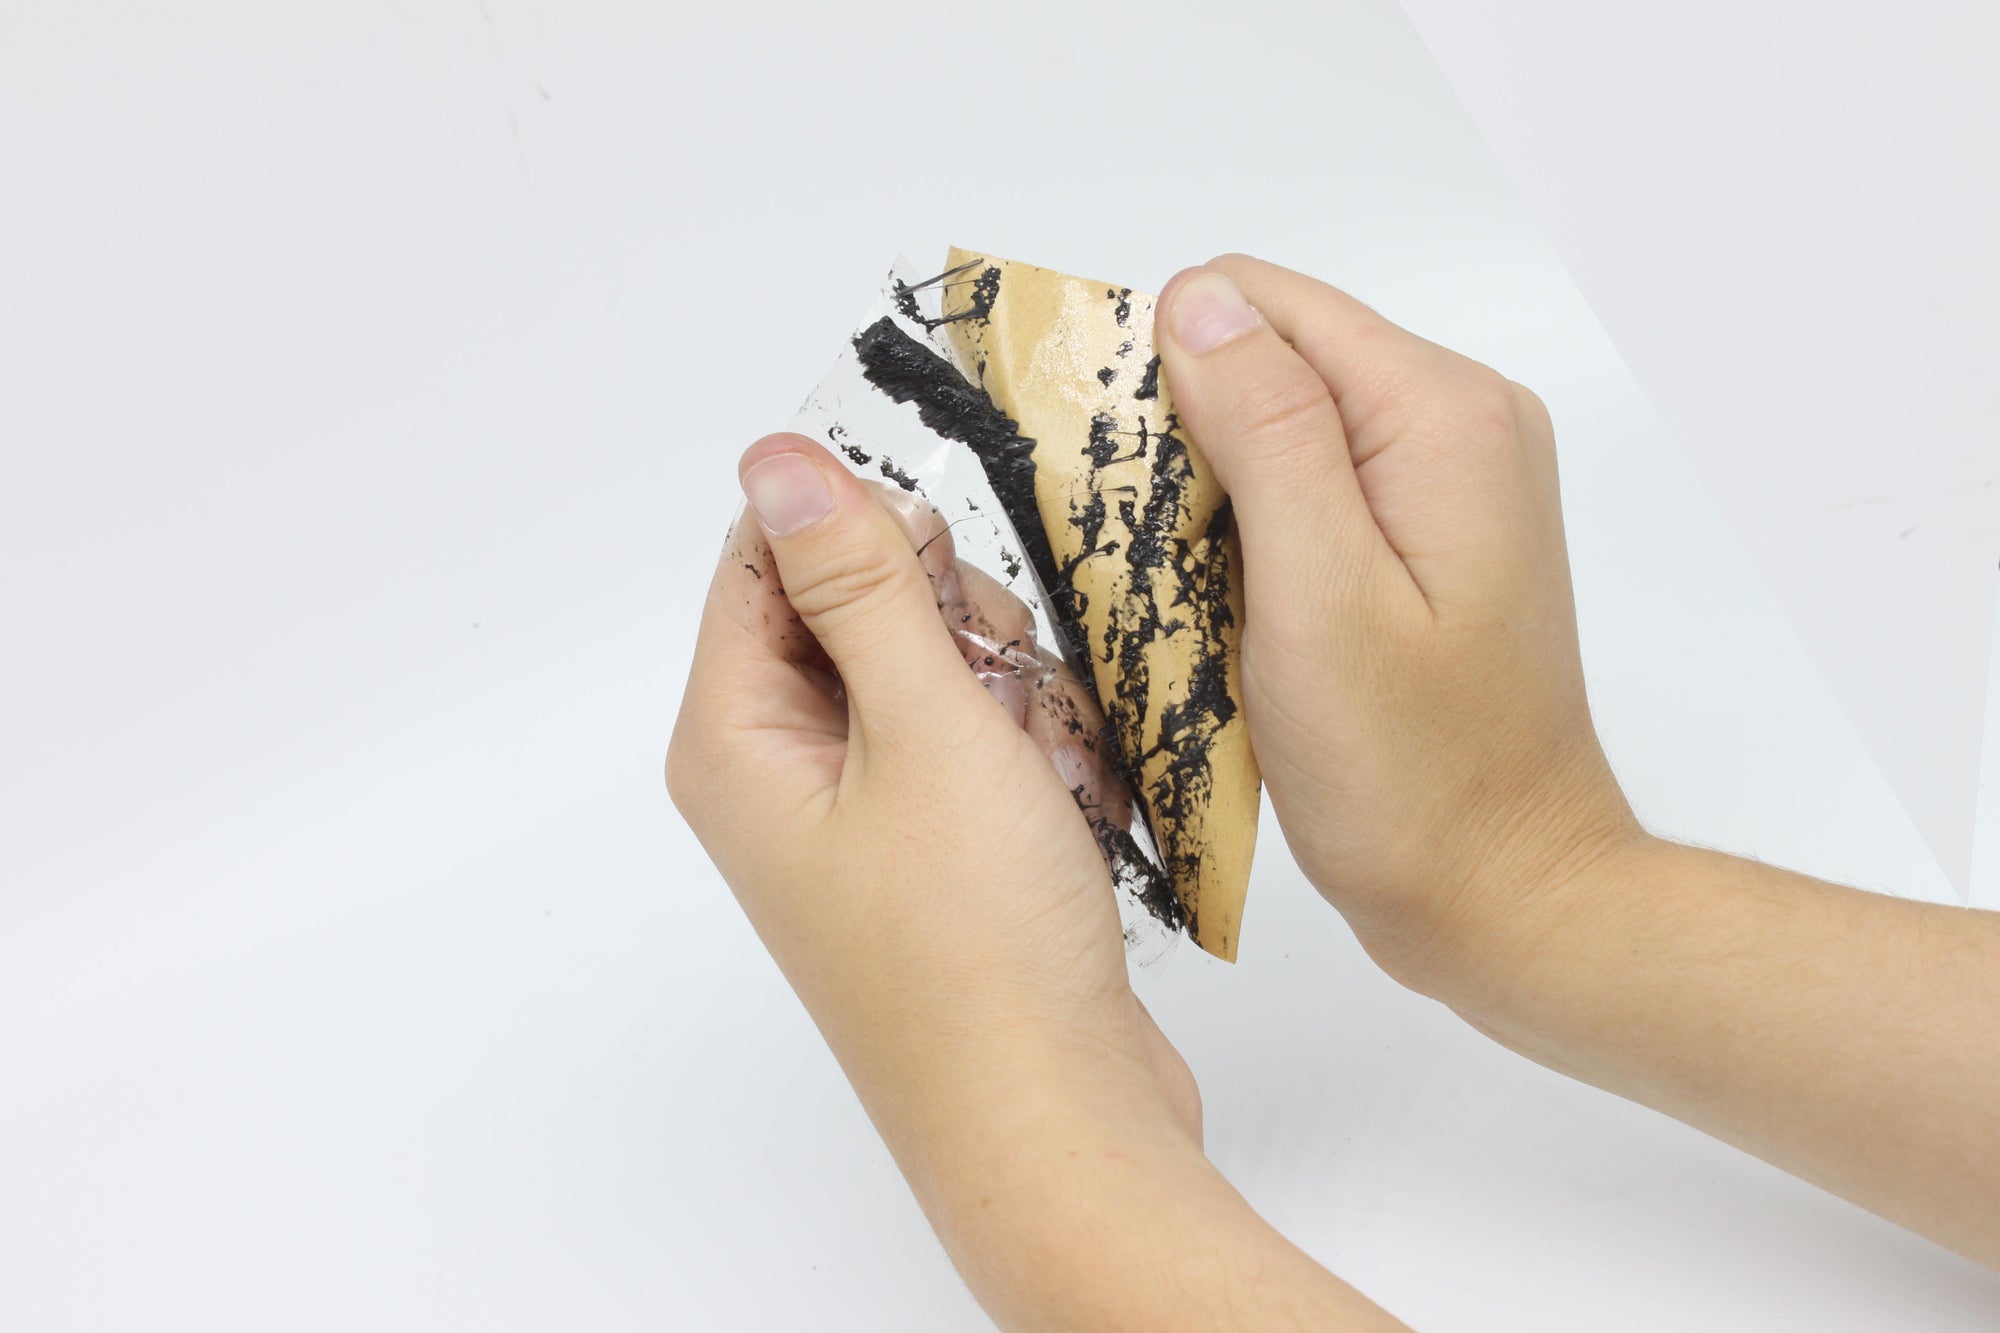
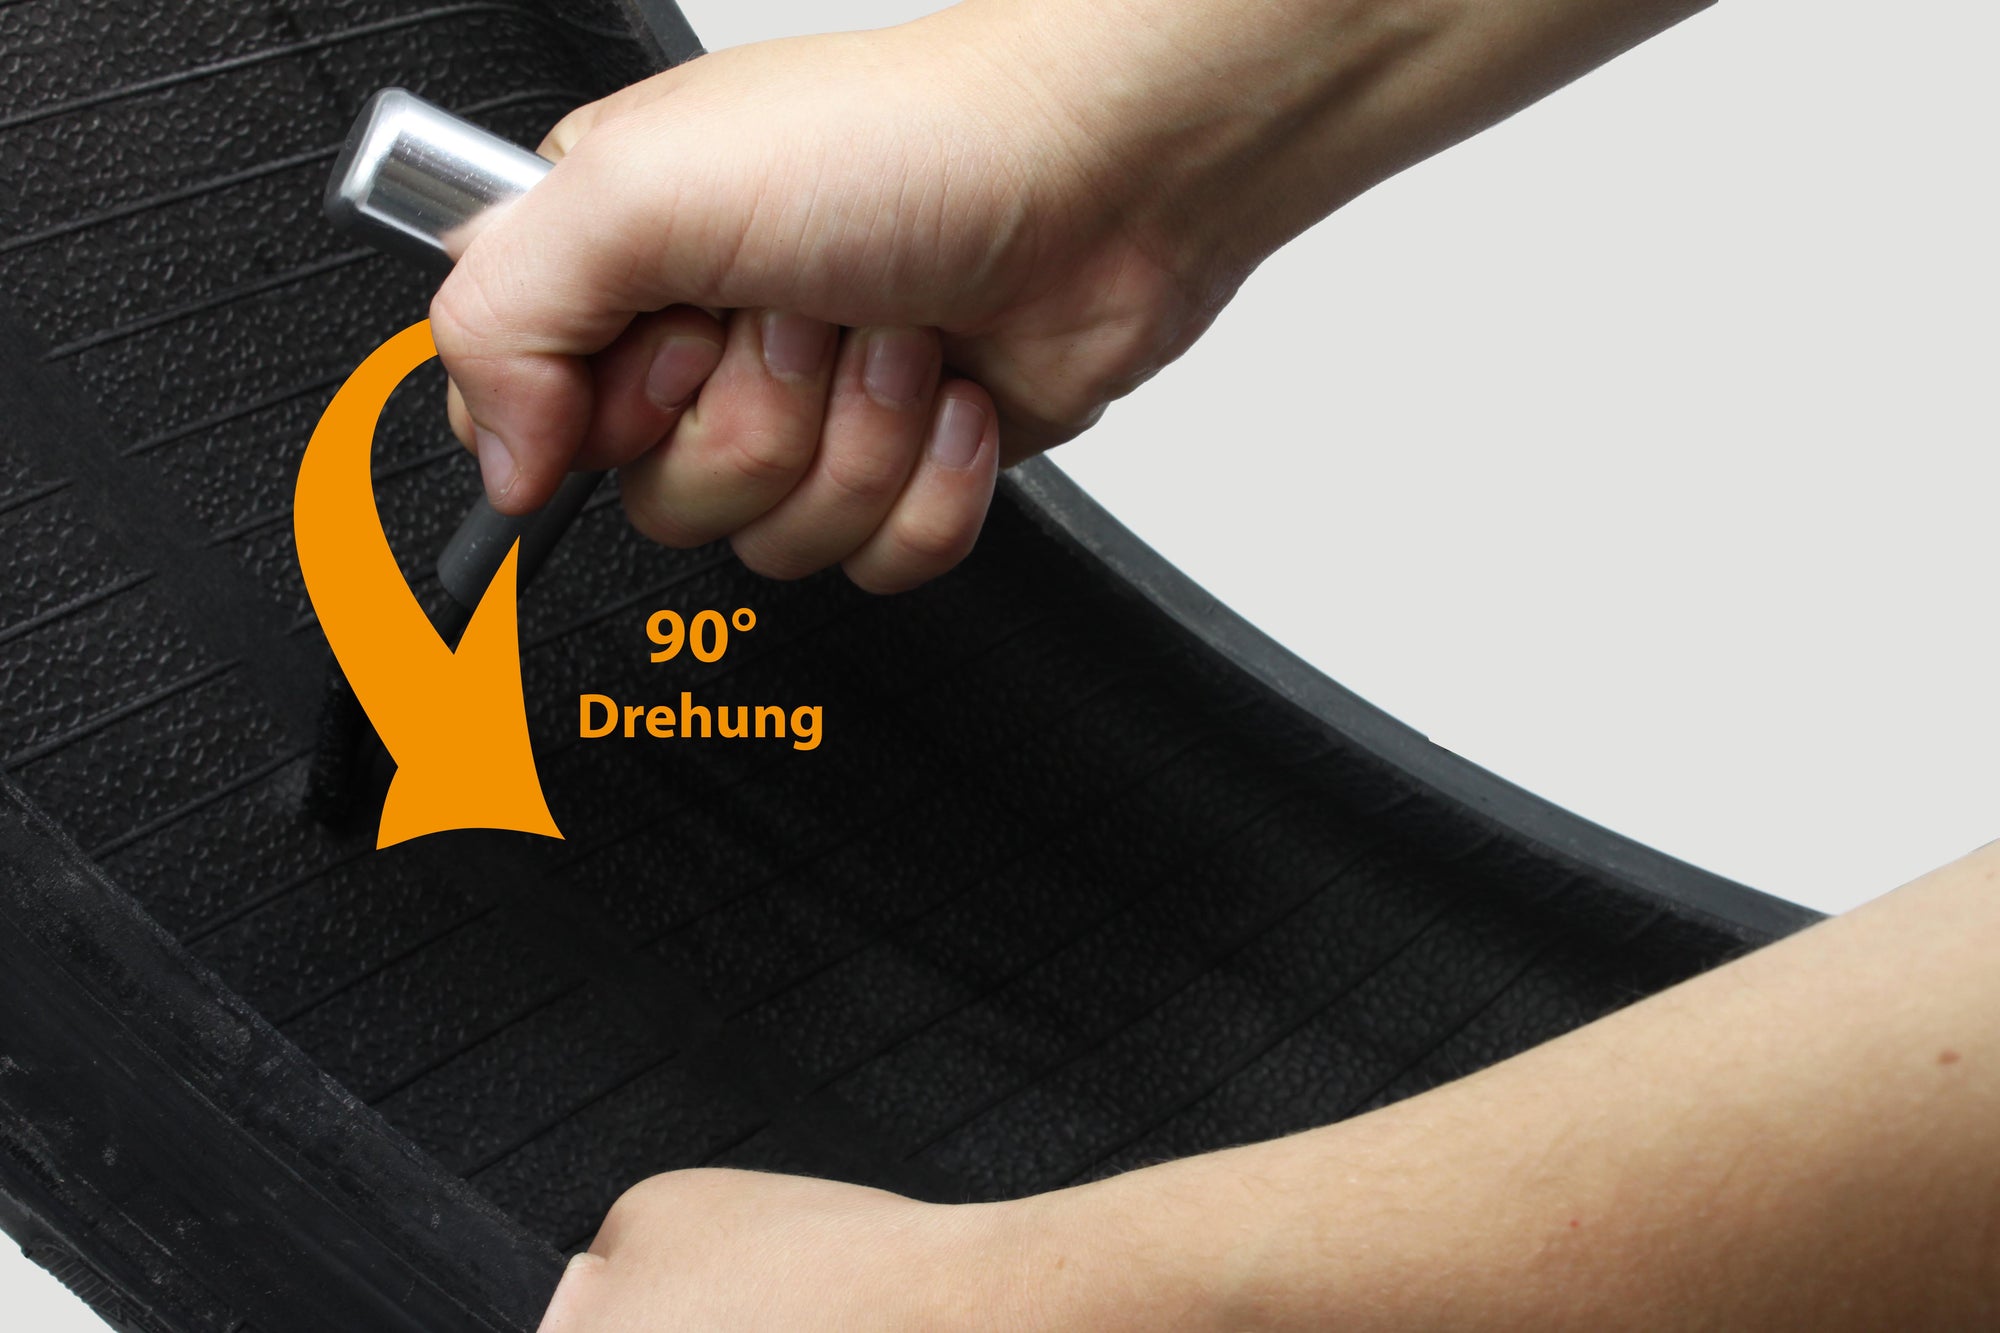
6. Insert the tire repair body into the branch channel
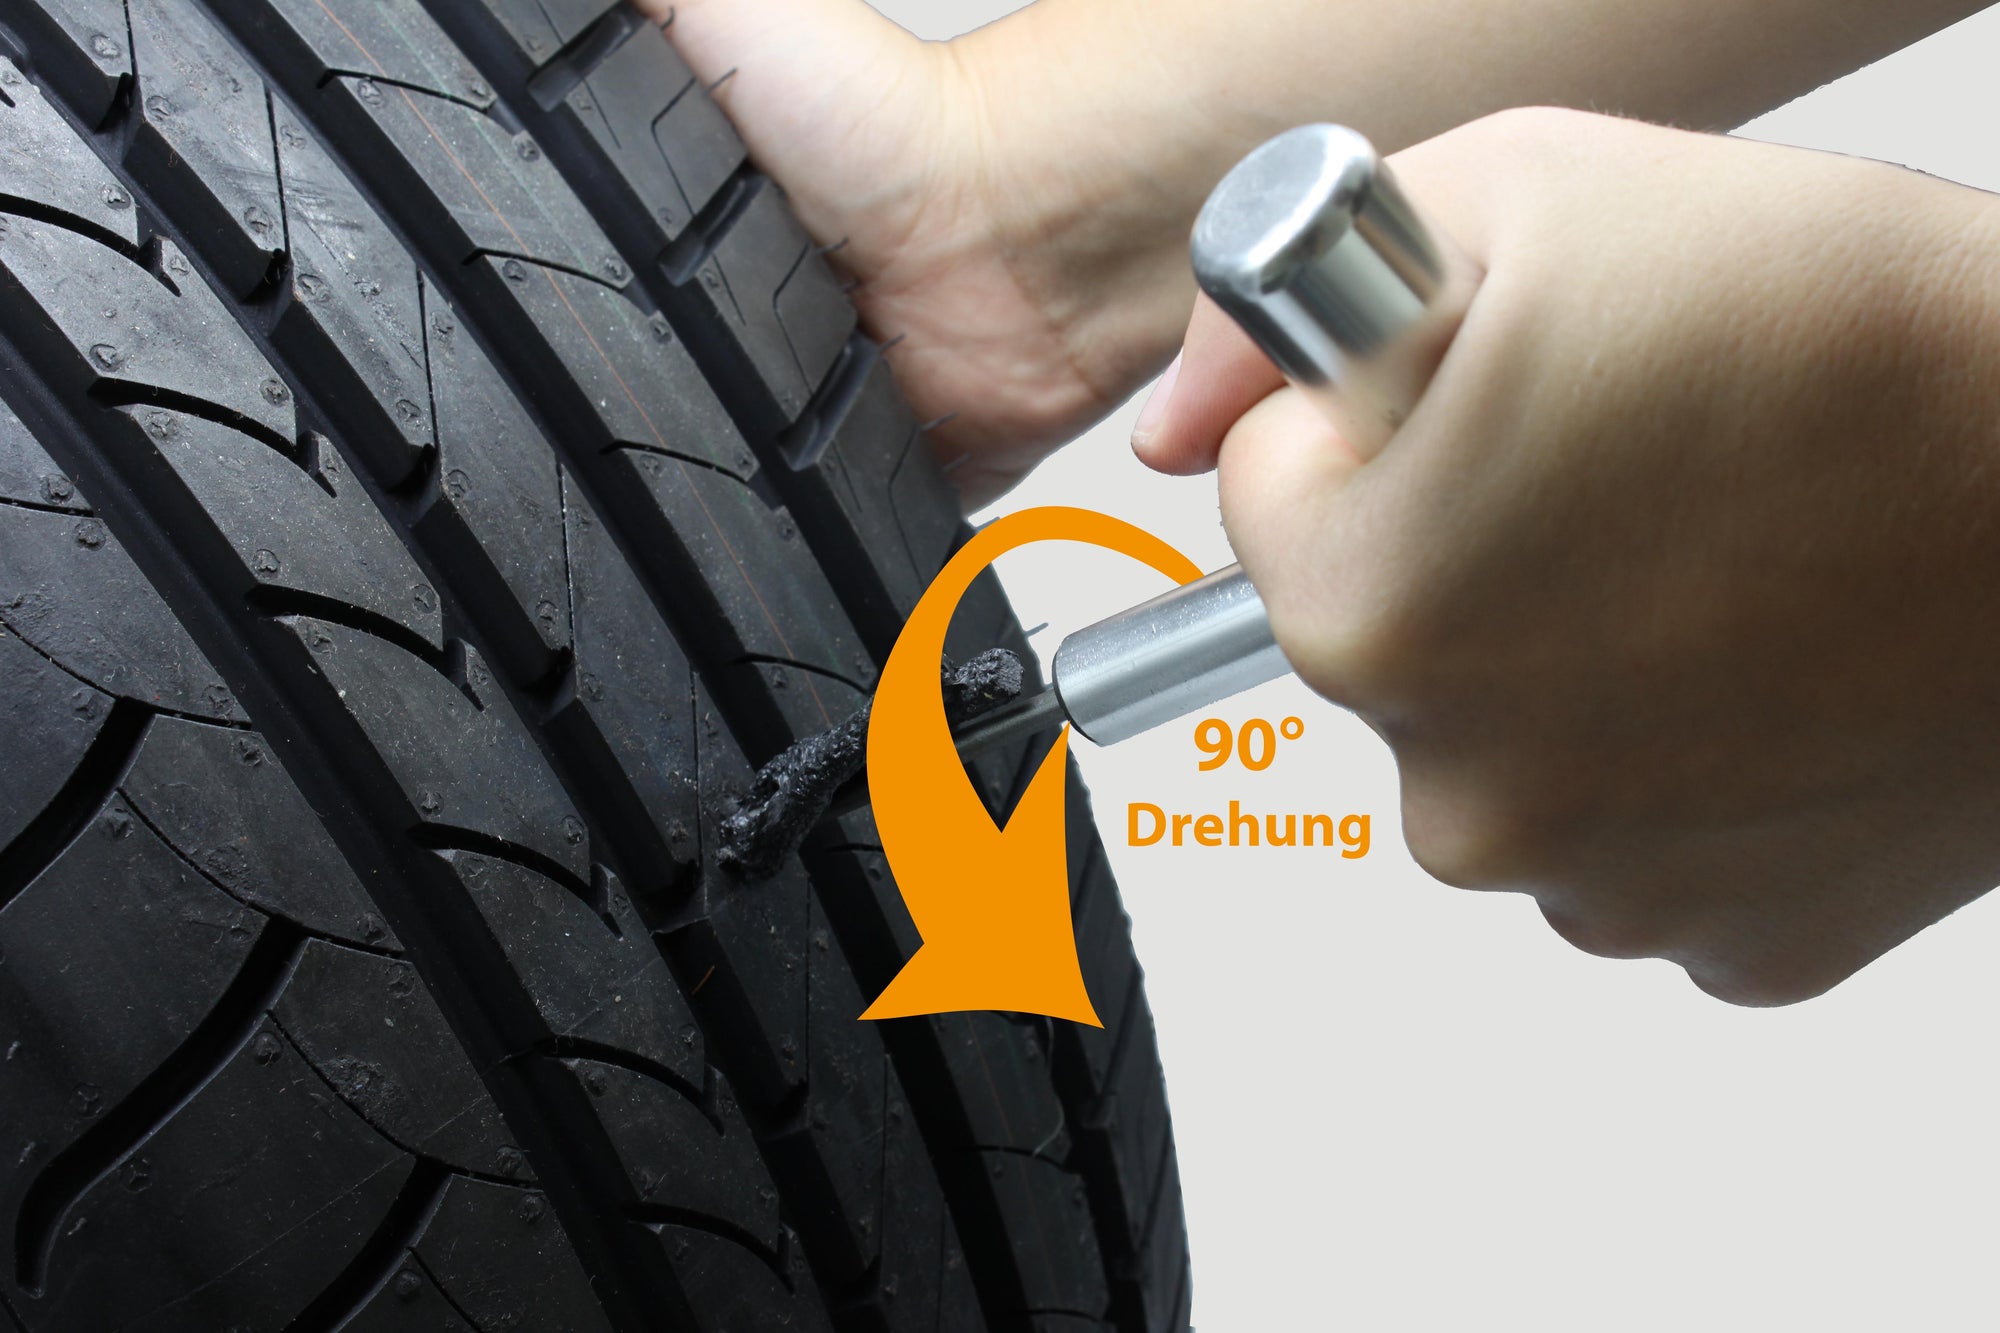
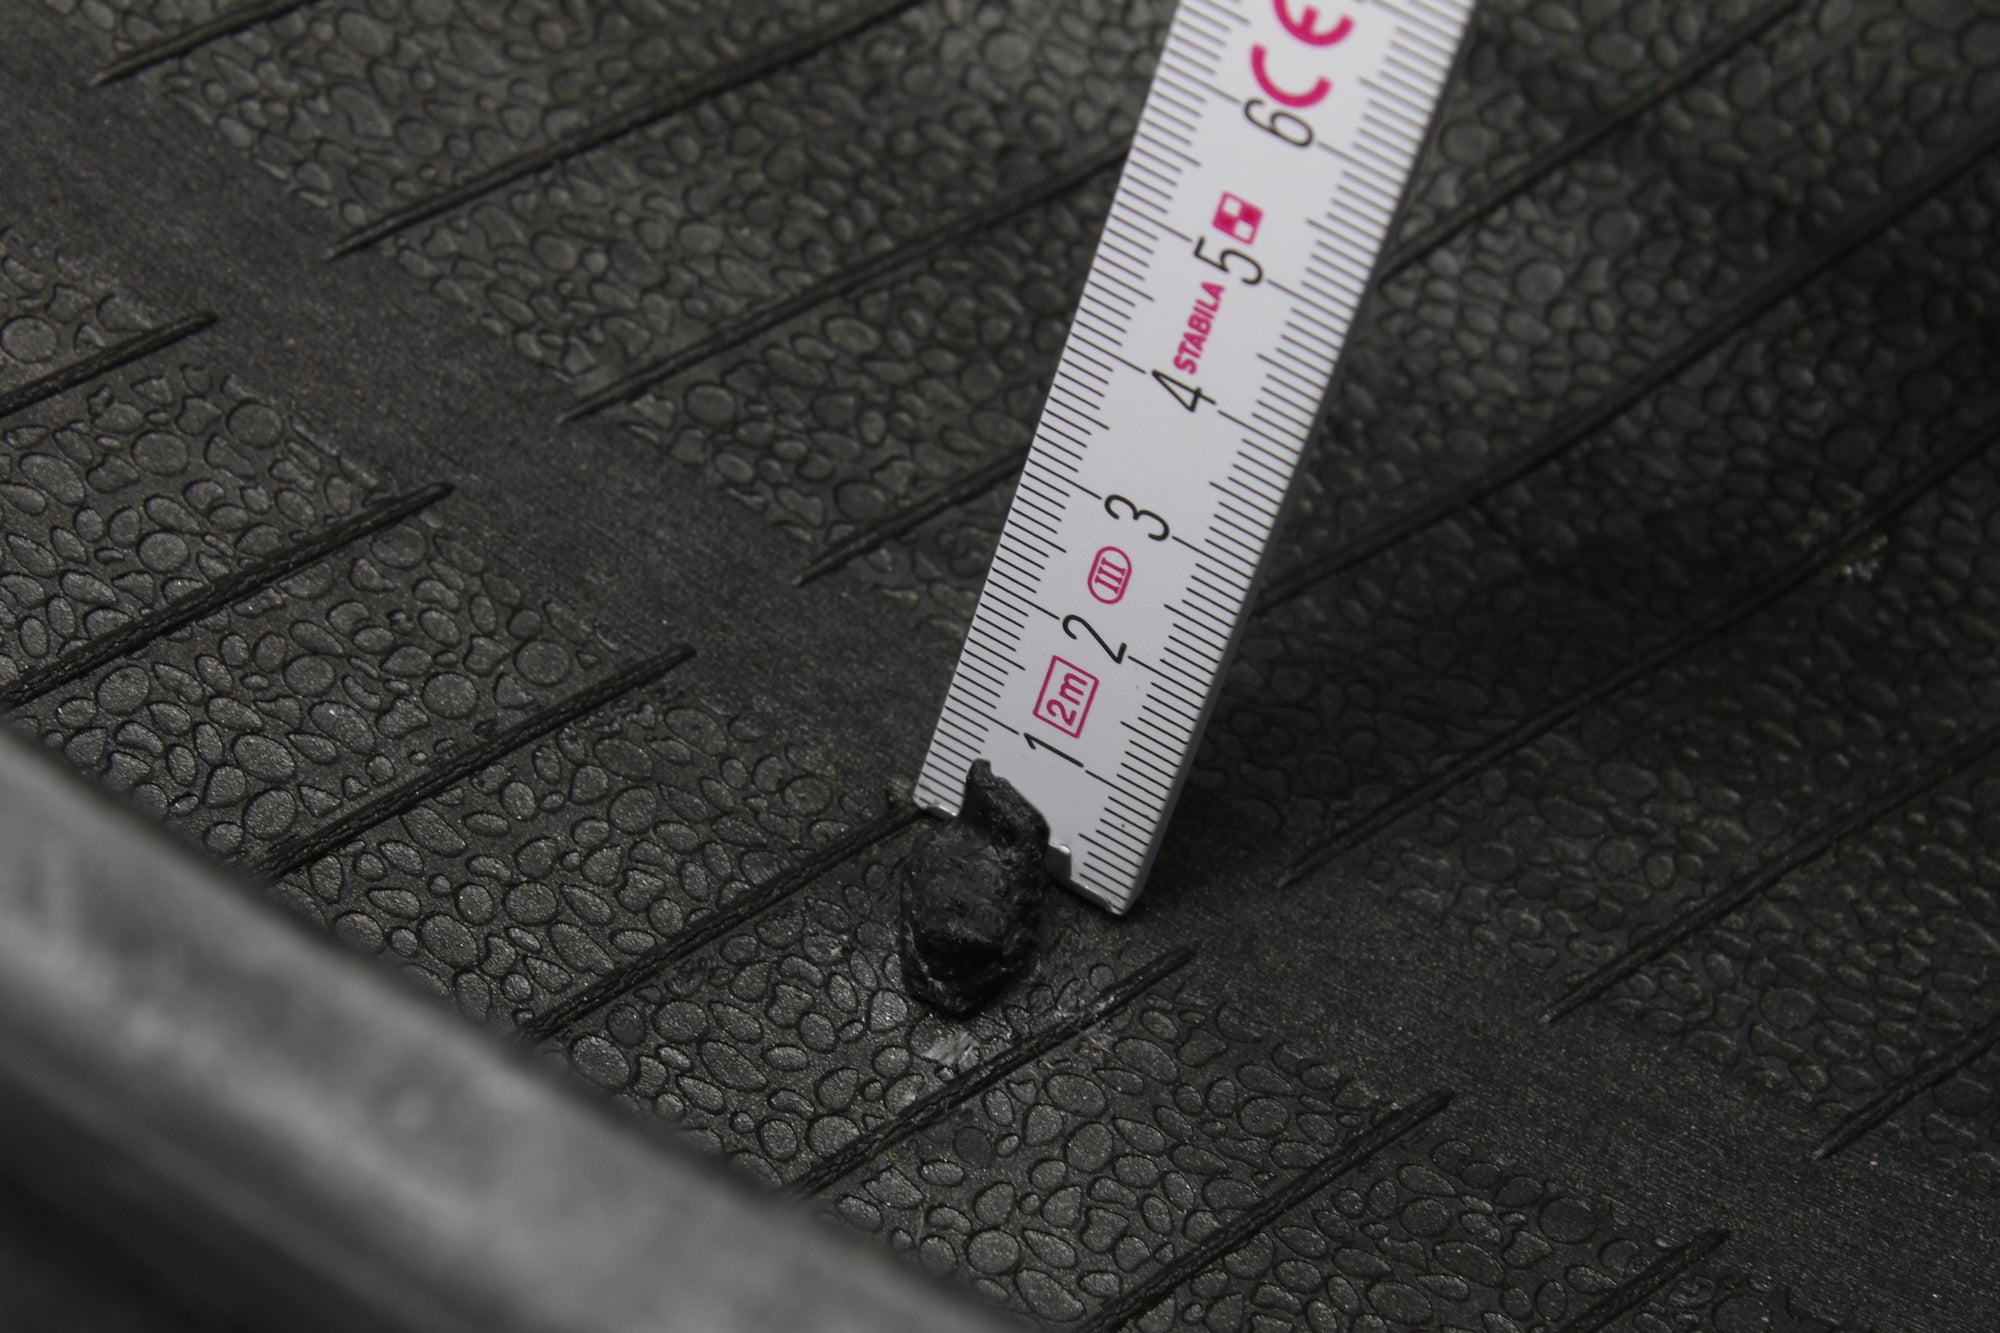
Turn the insertion tool with plug in the hole from the inside or alternatively from the outside by 90° under pressure and continue to press until approx. 10 mm of the repair body is visible on the inside or outside of the tire. Pull out the insertion awl again.
7. Cut off the protruding repair body
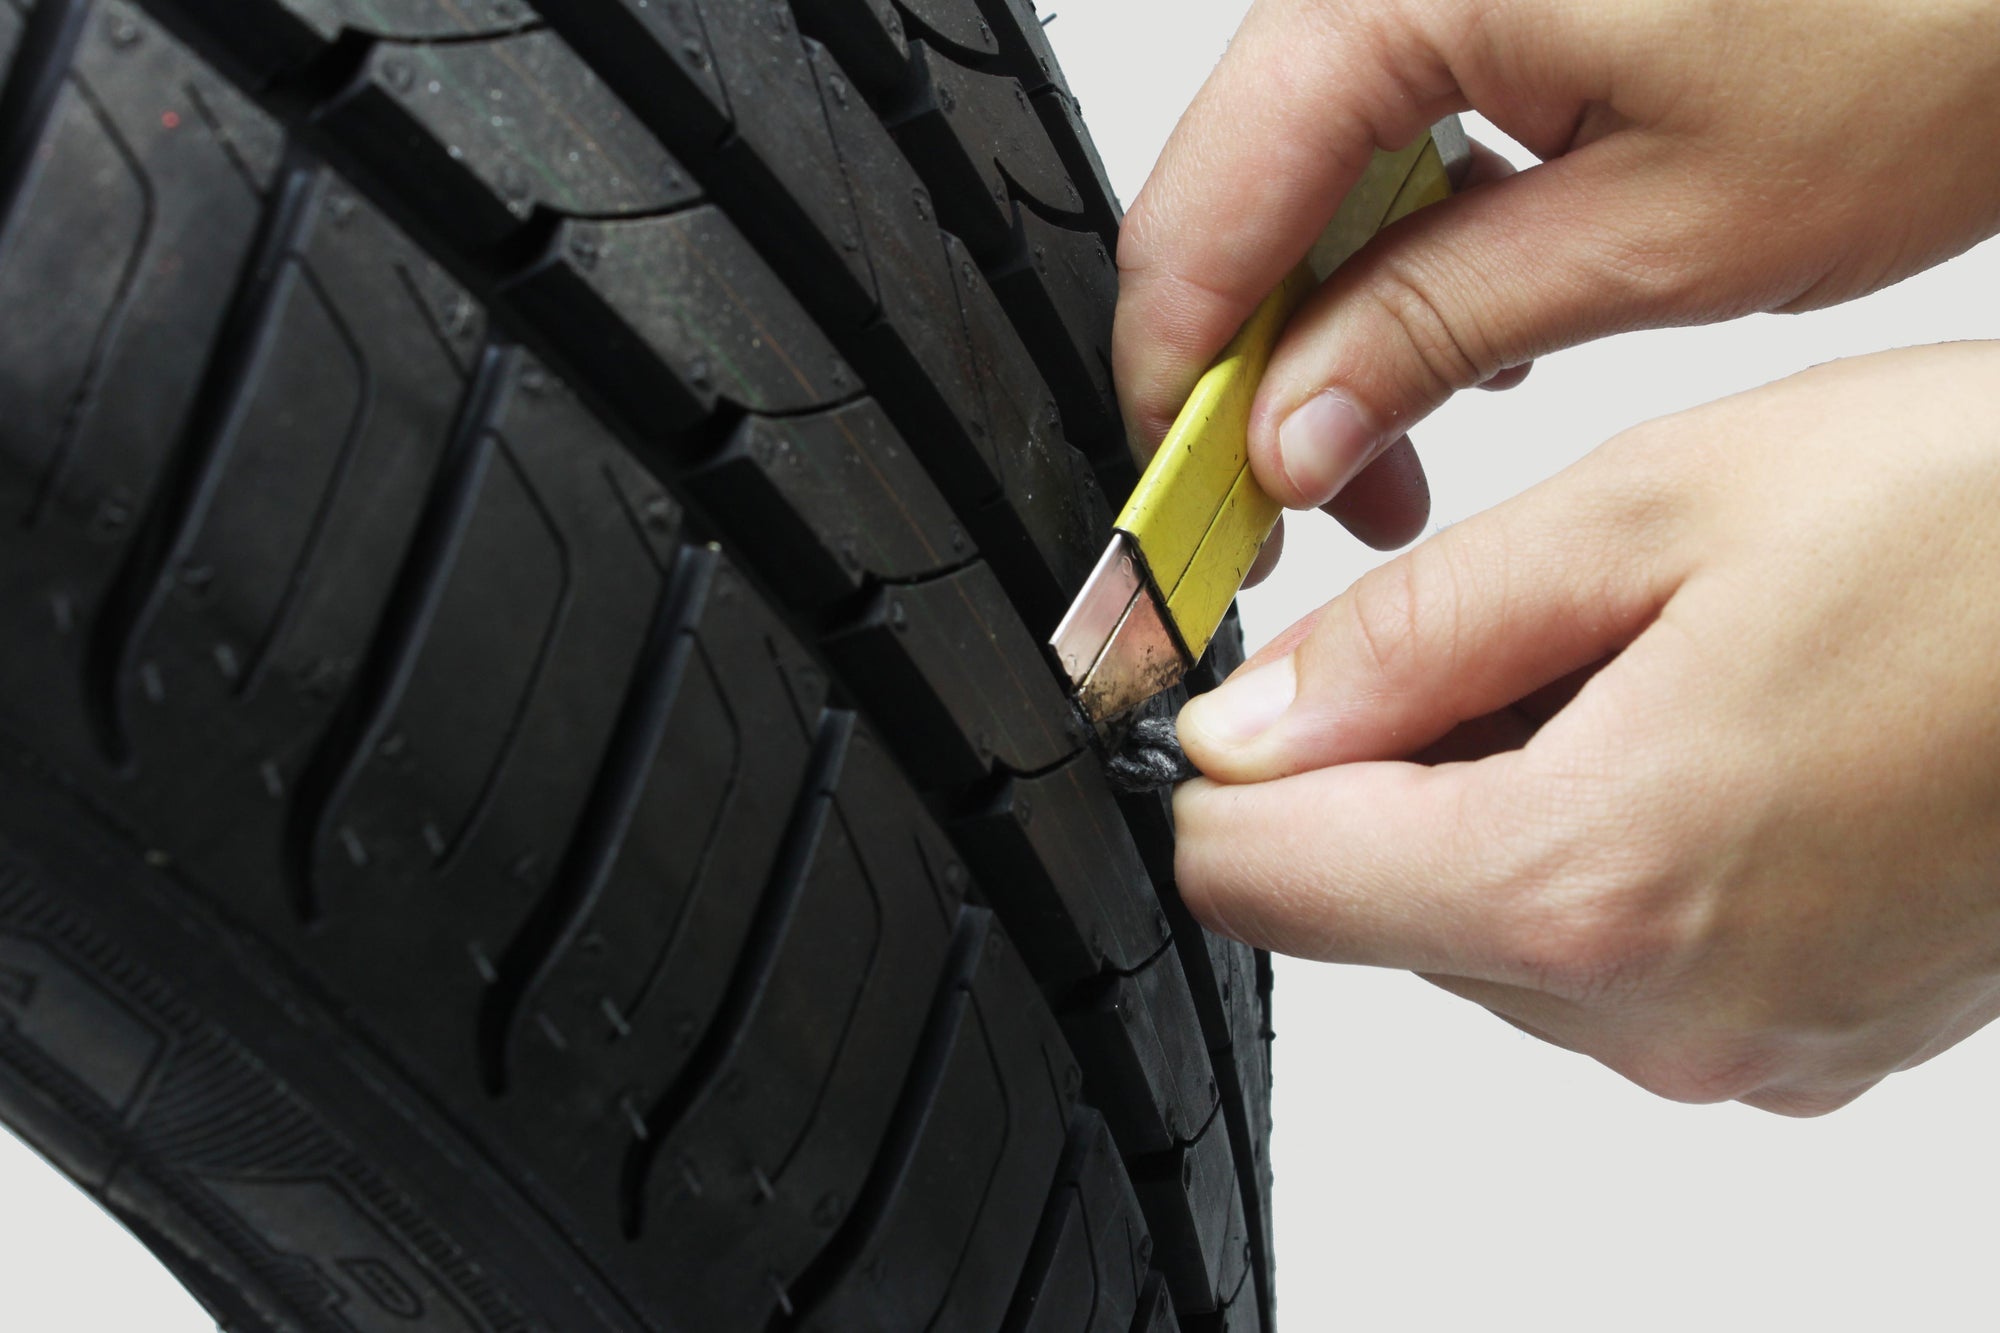
Cut off the repair body part protruding from the tread approx. 2mm above the profile.
In any case, it must be ensured that the repair body protrudes at least 5 mm inside the tire. This is especially important for slanted stitches!
8. Apply self-vulcanizing liquid plaster
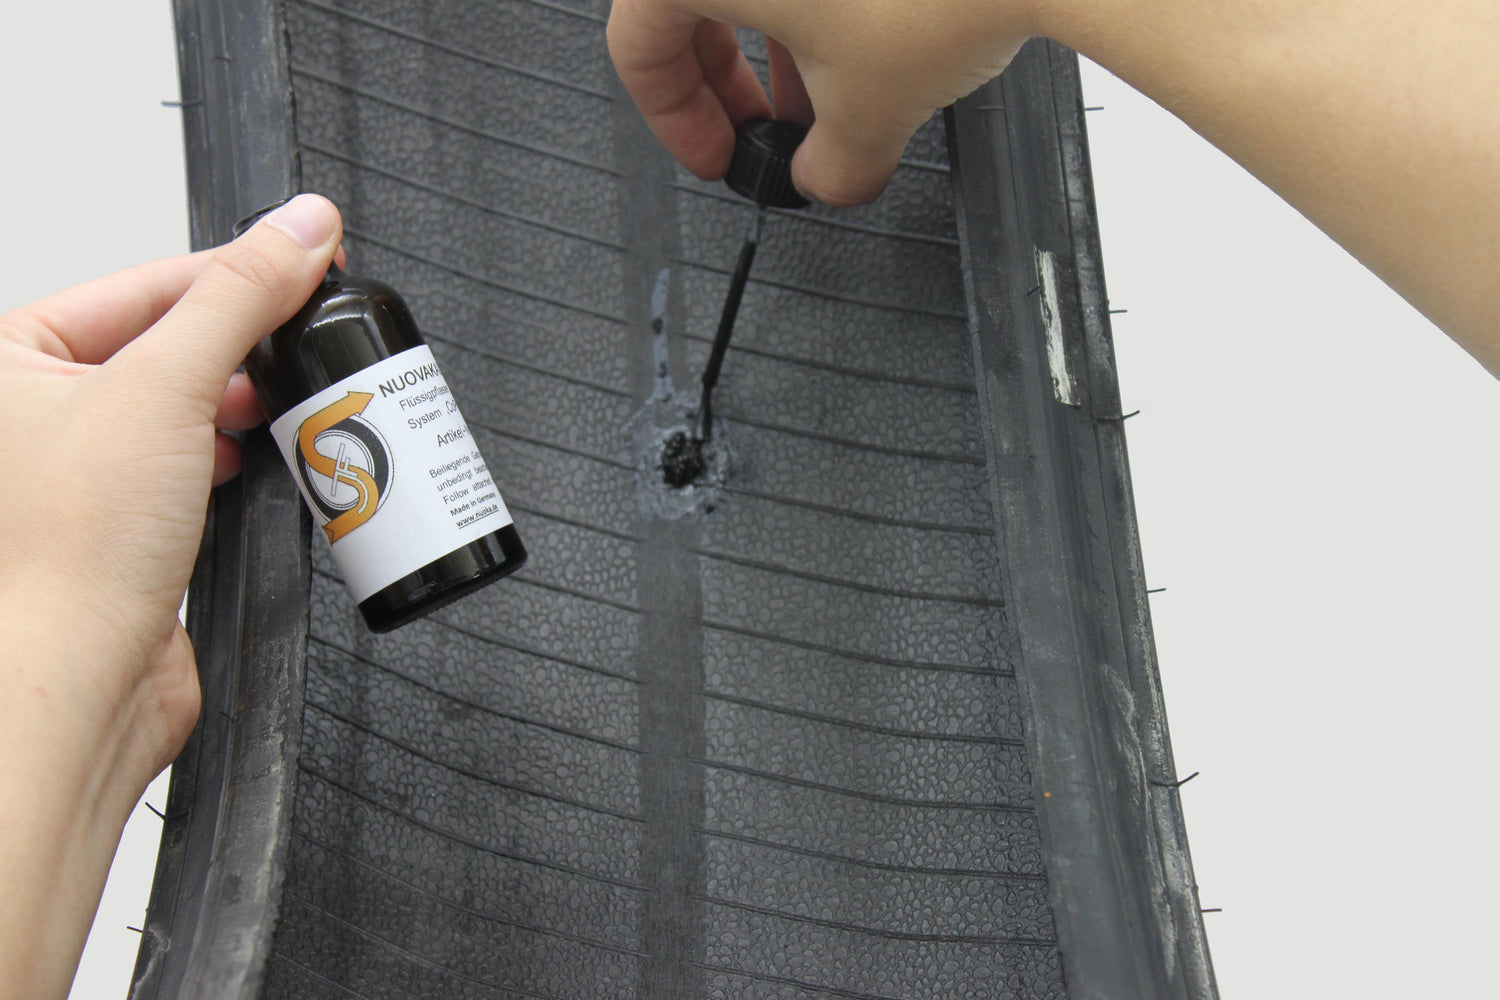
Apply the self-vulcanizing liquid plaster, also known as liquid rubber "CoPrA" ( item no. 0131 ), to the roughened surface and the repair body thickly (Ø approx. 2 cm) from the inside.
